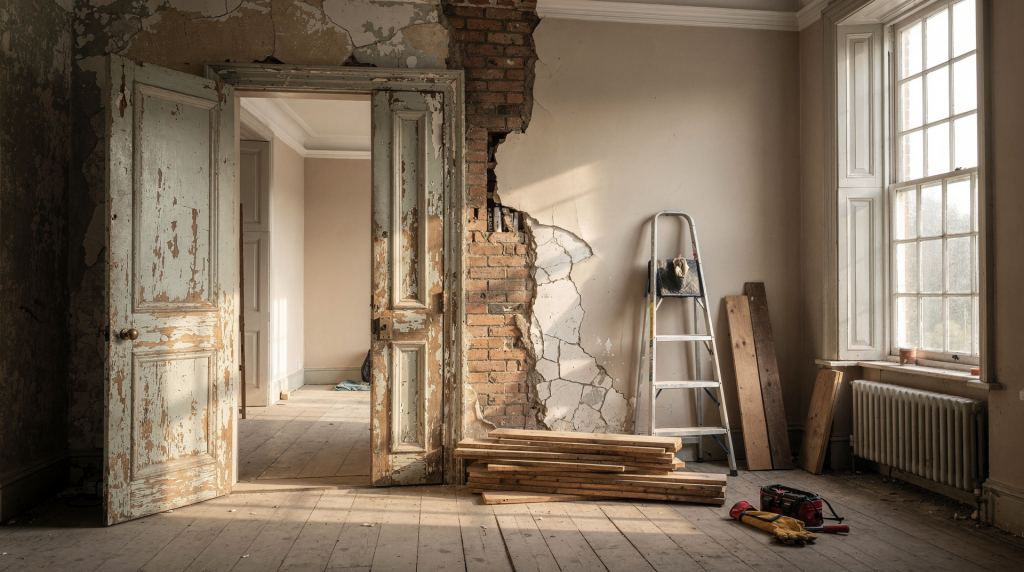
Restoring a historic home is rarely a straight renovation. The biggest challenges usually come from hidden damage, outdated systems, preservation rules, and the difficulty of making modern comfort work without erasing the building’s character.
If you are planning a restoration, the smartest approach is to treat the house as both a structure and a historical document. Every repair should solve a practical problem while respecting what the building still has to teach.
Why historic home restoration is different
A historic house is not just an older version of a modern house. It was built with different materials, different construction methods, and different expectations about comfort, safety, and maintenance.
That difference changes nearly every decision:
- Walls may hide lath and plaster instead of drywall.
- Floors may slope because the structure settled long ago.
- Windows, doors, and trim may be original and repairable rather than easily replaceable.
- Mechanical systems may have been added in layers over decades.
- Previous owners may have “updated” the house in ways that caused more harm than help.
The result is that restoration is less about quick upgrades and more about diagnosis, sequencing, and restraint.
The most common challenges in restoring historic homes
1. Hidden moisture and water damage
Water is one of the most destructive forces in an old house. A small roof leak or failed gutter system can lead to rot, plaster failure, stained finishes, mold, and structural weakening.
Common signs include:
- Soft or spongy wood
- Bubbling paint
- Musty odor
- Cracked plaster near ceilings or windows
- Efflorescence on masonry
- Sagging floors or ceiling areas
What makes water damage tricky is that the visible stain is rarely the full story. The real damage may be inside wall cavities, under roof decking, or behind exterior cladding.
What to do first:
- Stop the water source.
- Document the damage with photos.
- Check for hidden rot before cosmetic repairs.
- Repair drainage, flashing, gutters, and roof details before replacing finishes.
Typical mistake: repainting a damp wall without fixing the leak. The stain returns, and the trapped moisture makes the problem worse.
2. Lead paint and asbestos risks
Many historic homes contain hazardous materials that were standard when the building was constructed or later remodeled. Lead-based paint is common in older homes, and asbestos may appear in insulation, flooring, ceiling materials, pipe wrap, or adhesives.
This matters because sanding, scraping, drilling, or demolition can release dangerous dust and fibers.
Practical rule: do not start aggressive removal before testing or proper evaluation.
| Material | Where it is often found | Main risk | Best first step |
|---|---|---|---|
| Lead paint | Trim, windows, doors, walls | Dust exposure during disturbance | Test or assume present and use lead-safe practices |
| Asbestos | Flooring, insulation, pipe wrap, ceiling materials | Fiber release during cutting or tearing | Have suspect material evaluated before work |
| Mold-contaminated materials | Wet drywall, wood, insulation | Ongoing moisture and air quality problems | Find the moisture source and remove affected materials carefully |
Typical mistake: stripping everything “just to start fresh.” In a historic house, that can spread contamination and destroy salvageable original materials.
3. Outdated electrical, plumbing, and HVAC systems
A beautiful old house can still have dangerously outdated systems. Knob-and-tube wiring, undersized service panels, aging supply lines, corroded drains, and improvised HVAC additions are common.
The challenge is that these systems often fail in layers. You may fix one issue and uncover three more.
Signs the systems need attention:
- Flickering lights or frequently tripped breakers
- Two-prong outlets or overloaded circuits
- Weak water pressure
- Galvanized pipes with reduced flow
- Uneven heating and cooling
- Strange odors from vents or radiators
Best practice: plan system upgrades early, before finish work begins.
If you wait until after plaster restoration, trim repair, or refinished floors, you may end up opening finished areas again. That means higher cost and more damage to historic fabric.
4. Structural movement and settlement
Some amount of movement is normal in a very old house. The challenge is knowing what is historic settling and what is active structural failure.
You may encounter:
- Sloping floors
- Cracked masonry
- Bowed walls
- Door and window frames that are no longer square
- Gaps between trim and plaster
Not every crack means disaster. Some are signs of age and stable movement. Others signal water intrusion, foundation failure, or past repairs that were never finished properly.
How to evaluate:
- Look for changes over time, not just the current crack.
- Compare old and new photos if available.
- Check whether doors and windows still operate normally.
- Inspect foundations, sill plates, and roof framing together, not separately.
Typical mistake: forcing everything perfectly level. In an old house, trying to “modernize” the geometry too aggressively can damage original framing and finishes.
5. Window and door dilemmas
Original windows and doors are often among the best-built parts of a historic home. They are also frequent targets for replacement because they are drafty, sticky, or uneven.
The problem is that replacement is often chosen before repair is fully explored.
Historic wood windows can often be restored through:
- Sash repair
- Reglazing
- Weatherstripping
- Counterbalance repair
- Glass preservation
- Careful paint removal
Preserving original windows usually makes sense when the frames are sound. They can often perform far better after repair than cheap replacements do after installation.
When replacement may be justified:
- Severe decay beyond repair
- Unsafe or missing components
- Irreparable prior damage
- Requirements that cannot be met by restoration alone
Typical mistake: replacing all original windows because of one rotten sill. In many cases, only localized repair is needed.
6. Finding the right materials and trades
Historic restoration depends on materials and skills that are not always available at a big-box store. Matching mortar, plaster, brick, wood profiles, hardware, or finish details takes more time than standard renovation work.
The hardest part is often not the product itself but finding someone who understands how the building was originally put together.
Look for tradespeople experienced with:
- Lime plaster
- Masonry repointing
- Window restoration
- Millwork replication
- Timber repair
- Historic paint analysis
- Preservation-sensitive carpentry
Typical mistake: hiring a general contractor who treats a 1910 house like a new build. Good intentions are not enough if the methods are wrong for the building.
7. Preservation rules and permit constraints
If the house is locally designated or listed in a protected district, changes may be subject to review. That can affect exterior materials, windows, porches, roofing, additions, and sometimes paint colors or signage.
This does not mean you cannot improve the house. It means the process may require more documentation, more patience, and better planning.
Before starting work:
- Check whether the property is designated or in a historic district.
- Ask what changes require approval.
- Confirm whether permits, certificates, or review board sign-off are needed.
- Keep records of approved materials and scope.
Typical mistake: starting exterior work before understanding local rules. That can lead to delays, fines, or forced rework.
8. Energy efficiency without damaging the house
Owners often want better comfort and lower utility bills, but historic houses were not built like airtight modern homes. If you seal them carelessly, you can trap moisture, stress materials, and disrupt natural airflow.
The right approach is usually targeted improvement, not aggressive over-sealing.
Good upgrades often include:
- Attic insulation with proper ventilation
- Air sealing at specific leaks
- Restoring storm windows
- Weatherstripping doors and windows
- Upgrading mechanical systems efficiently
Typical mistake: replacing breathable materials with impermeable products that trap moisture in the wrong place.
Restoration priorities: what to fix first
Not every problem needs attention at once. The best restorations follow a clear order.
Priority 1: Safety and active damage
- Roof leaks
- Structural instability
- Unsafe wiring
- Lead/asbestos hazards
- Active pest or moisture damage
Priority 2: Building envelope
- Roof
- Gutters
- Flashing
- Windows
- Foundation drainage
- Masonry and siding
Priority 3: Core systems
- Electrical
- Plumbing
- Heating and cooling
Priority 4: Interior restoration
- Plaster
- Floors
- Trim
- Decorative finishes
Priority 5: Cosmetic improvements
- Paint
- Fixtures
- Surface upgrades
- Furnishings
This order matters because cosmetics are easy to redo. Hidden damage is not.
A practical restoration workflow
Step 1: Document the house before touching anything
- Photograph every room, exterior elevation, and detail.
- Note cracks, stains, sagging areas, and repairs already made.
- Save old permits, deeds, photos, and inspection reports.
Step 2: Inspect the house as a whole
- Roof and drainage
- Foundation and framing
- Electrical, plumbing, and HVAC
- Hazardous materials
- Windows, doors, and masonry
Step 3: Separate repair from replacement
Ask:
- Can this be repaired safely?
- Is the original material still serviceable?
- Will replacement remove historic value unnecessarily?
Step 4: Build a phased plan
- Fix active damage first.
- Address systems next.
- Restore finishes only after the house is stable.
Step 5: Use compatible materials
Historic buildings often need breathable, flexible, repairable materials rather than modern sealants and hard finishes in every location.
Checklist for homeowners
Use this before any major restoration project:
- I have documented the current condition of the house.
- I know whether the property has historic designation or district restrictions.
- I have checked for lead paint and asbestos risk.
- I have inspected roof, gutters, foundation, and drainage.
- I know which systems are original, updated, or unsafe.
- I have separated urgent repairs from cosmetic work.
- I have identified tradespeople with historic house experience.
- I have a phased budget and timeline.
- I understand which features should be repaired instead of replaced.
Common mistakes to avoid
- Starting with cosmetic work before structural or moisture issues are solved
- Replacing original materials that could have been repaired
- Using modern products that are incompatible with old materials
- Ignoring drainage and ventilation
- Hiring contractors without preservation experience
- Treating every old-house irregularity as a defect
- Failing to check local historic regulations before exterior work
When to call a specialist
Some problems require more than general renovation skills. Bring in a specialist when you see:
- Significant foundation movement
- Repeated water intrusion
- Suspected hazardous materials
- Major plaster or masonry failure
- Complex window or millwork restoration
- Questions about historic approval or compliance
A good specialist will not just fix the symptom. They will explain why the failure happened and how to prevent it from returning.
Conclusion
The main challenges in restoring a historic home are rarely about style. They are about hidden damage, outdated systems, material compatibility, and making careful decisions under real-world constraints.
The best restorations protect what matters most: the structure, the history, and the building’s long-term function. Start with diagnosis, repair the house in the right order, and treat original materials as assets whenever they can still serve the home.
FAQ
What is the biggest problem in restoring a historic home?
Water damage is often the most damaging because it affects structure, finishes, and indoor air quality at the same time.
Should I replace old windows in a historic house?
Not automatically. If the frames and sash are sound, repair is often better than replacement.
How do I know if my old house has lead paint?
Homes built before 1978 are high-risk. Testing or lead-safe assumptions are the safest approach before disturbing painted surfaces.
Is it cheaper to restore or renovate a historic home?
Full restoration often costs more than standard renovation because it involves specialized labor, hidden damage, and careful material matching.
What should I inspect first in a historic home?
Start with roof, gutters, foundation, drainage, electrical, plumbing, and any signs of moisture intrusion.